

Here is what you need:
- A screen the size of the paper you want to make. You can buy these, or can make your own using wood scraps, old window screen, and a staple gun. You need one side to have the screen flush with the wood.
- A tub or container that will fit your screen when held horizontally
- old paper
- a blender
- piece of old fabric/sheets cut slightly larger than the size of your paper
- First prepare the drying area. Lay out a towel and get your fabric scraps nearby.
- Tear up old paper into little scraps. The color of your hand made paper will depend on what colors you are putting in.... pen ink will give the paper a gray shade, colored pieces will add color.

- Put scraps of paper into blender with luke warm water and blend into a slurry.
- Fill your tub with enough water to dunk your screen into. Dump slurry mixture into tub with water.

- Grab your screen and turn the end that is flush with the edges upwards. This is the side you will make your paper on. Now dunk your screen into your slurry mixture and lift up. As the water drains through the screen, you will have a very wet version of your paper. Decide if this is the thickness you want. If it is too thick, it will be more like cardboard, if it is really thin, you may get bare spots or holes. Add more water or more slurry depending on how thick you want your paper to be (I think this is one of those areas where Finn and I need some more practice!).

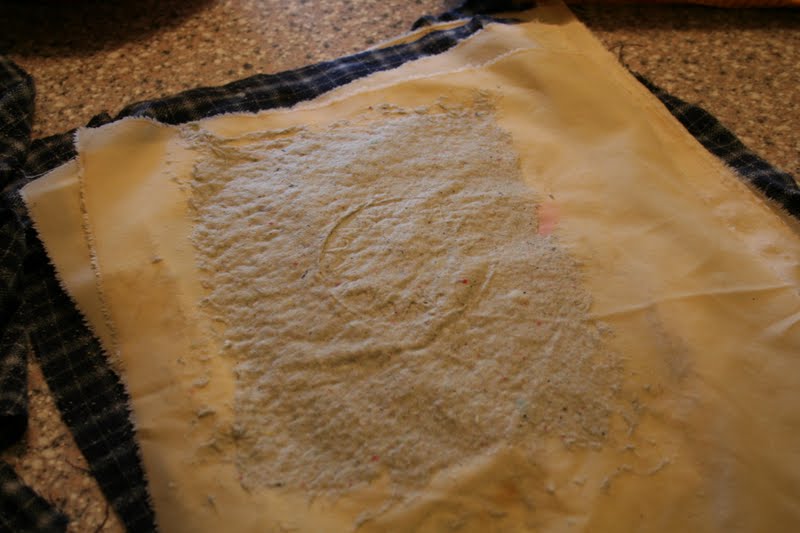
- Once the water mostly drains, carefully flip the wet paper onto one of your piece of fabric, and place onto towel.
- Once these are slightly dry, you can stack them up on top of one another so they take up less space. Or, if you have the room, keep spread out so they will dry faster. We kept them stacked, and the next day I hung them on a clothesline inside to finish drying.

- Once dry, leave stack under a heavy book to help flatten it out.
- Now write someone a lovely message!

- You can also add bit of glitter, dried flowers, or whatever else you can imagine into your mixture. Get creative! Finn and I plan on making some more creative versions of this paper in upcoming weeks.
Thanks for a great tutorial! I remember making paper as a kid....it was so much fun. And what a great way to recycle all the junk mail and bills in our house that would otherwise go straight to the trash. Looking forward to seeing other great paper creations you come up with.
ReplyDeleteI have always wanted to try to do this with my kids! You make it look so easy too. :)
ReplyDelete~Cynthia
Brambleberriesintherain.com